How Much Flooring Do You Really Need? A Beginner’s Guide to Measuring
f you’re planning a flooring project, you’ve probably already asked yourself:
“How much flooring do I actually need to buy?”
It’s a smart question, because guessing can lead to expensive mistakes like overordering or, worse, running out of material mid-install. Whether you’re replacing carpet, upgrading to luxury vinyl plank (LVP), or going all-in on tile or hardwood, this guide will walk you through exactly how to measure your space and factor in all the real-world details.
What You’ll Need to Measure Your Floors
Before you start, grab a few essentials:
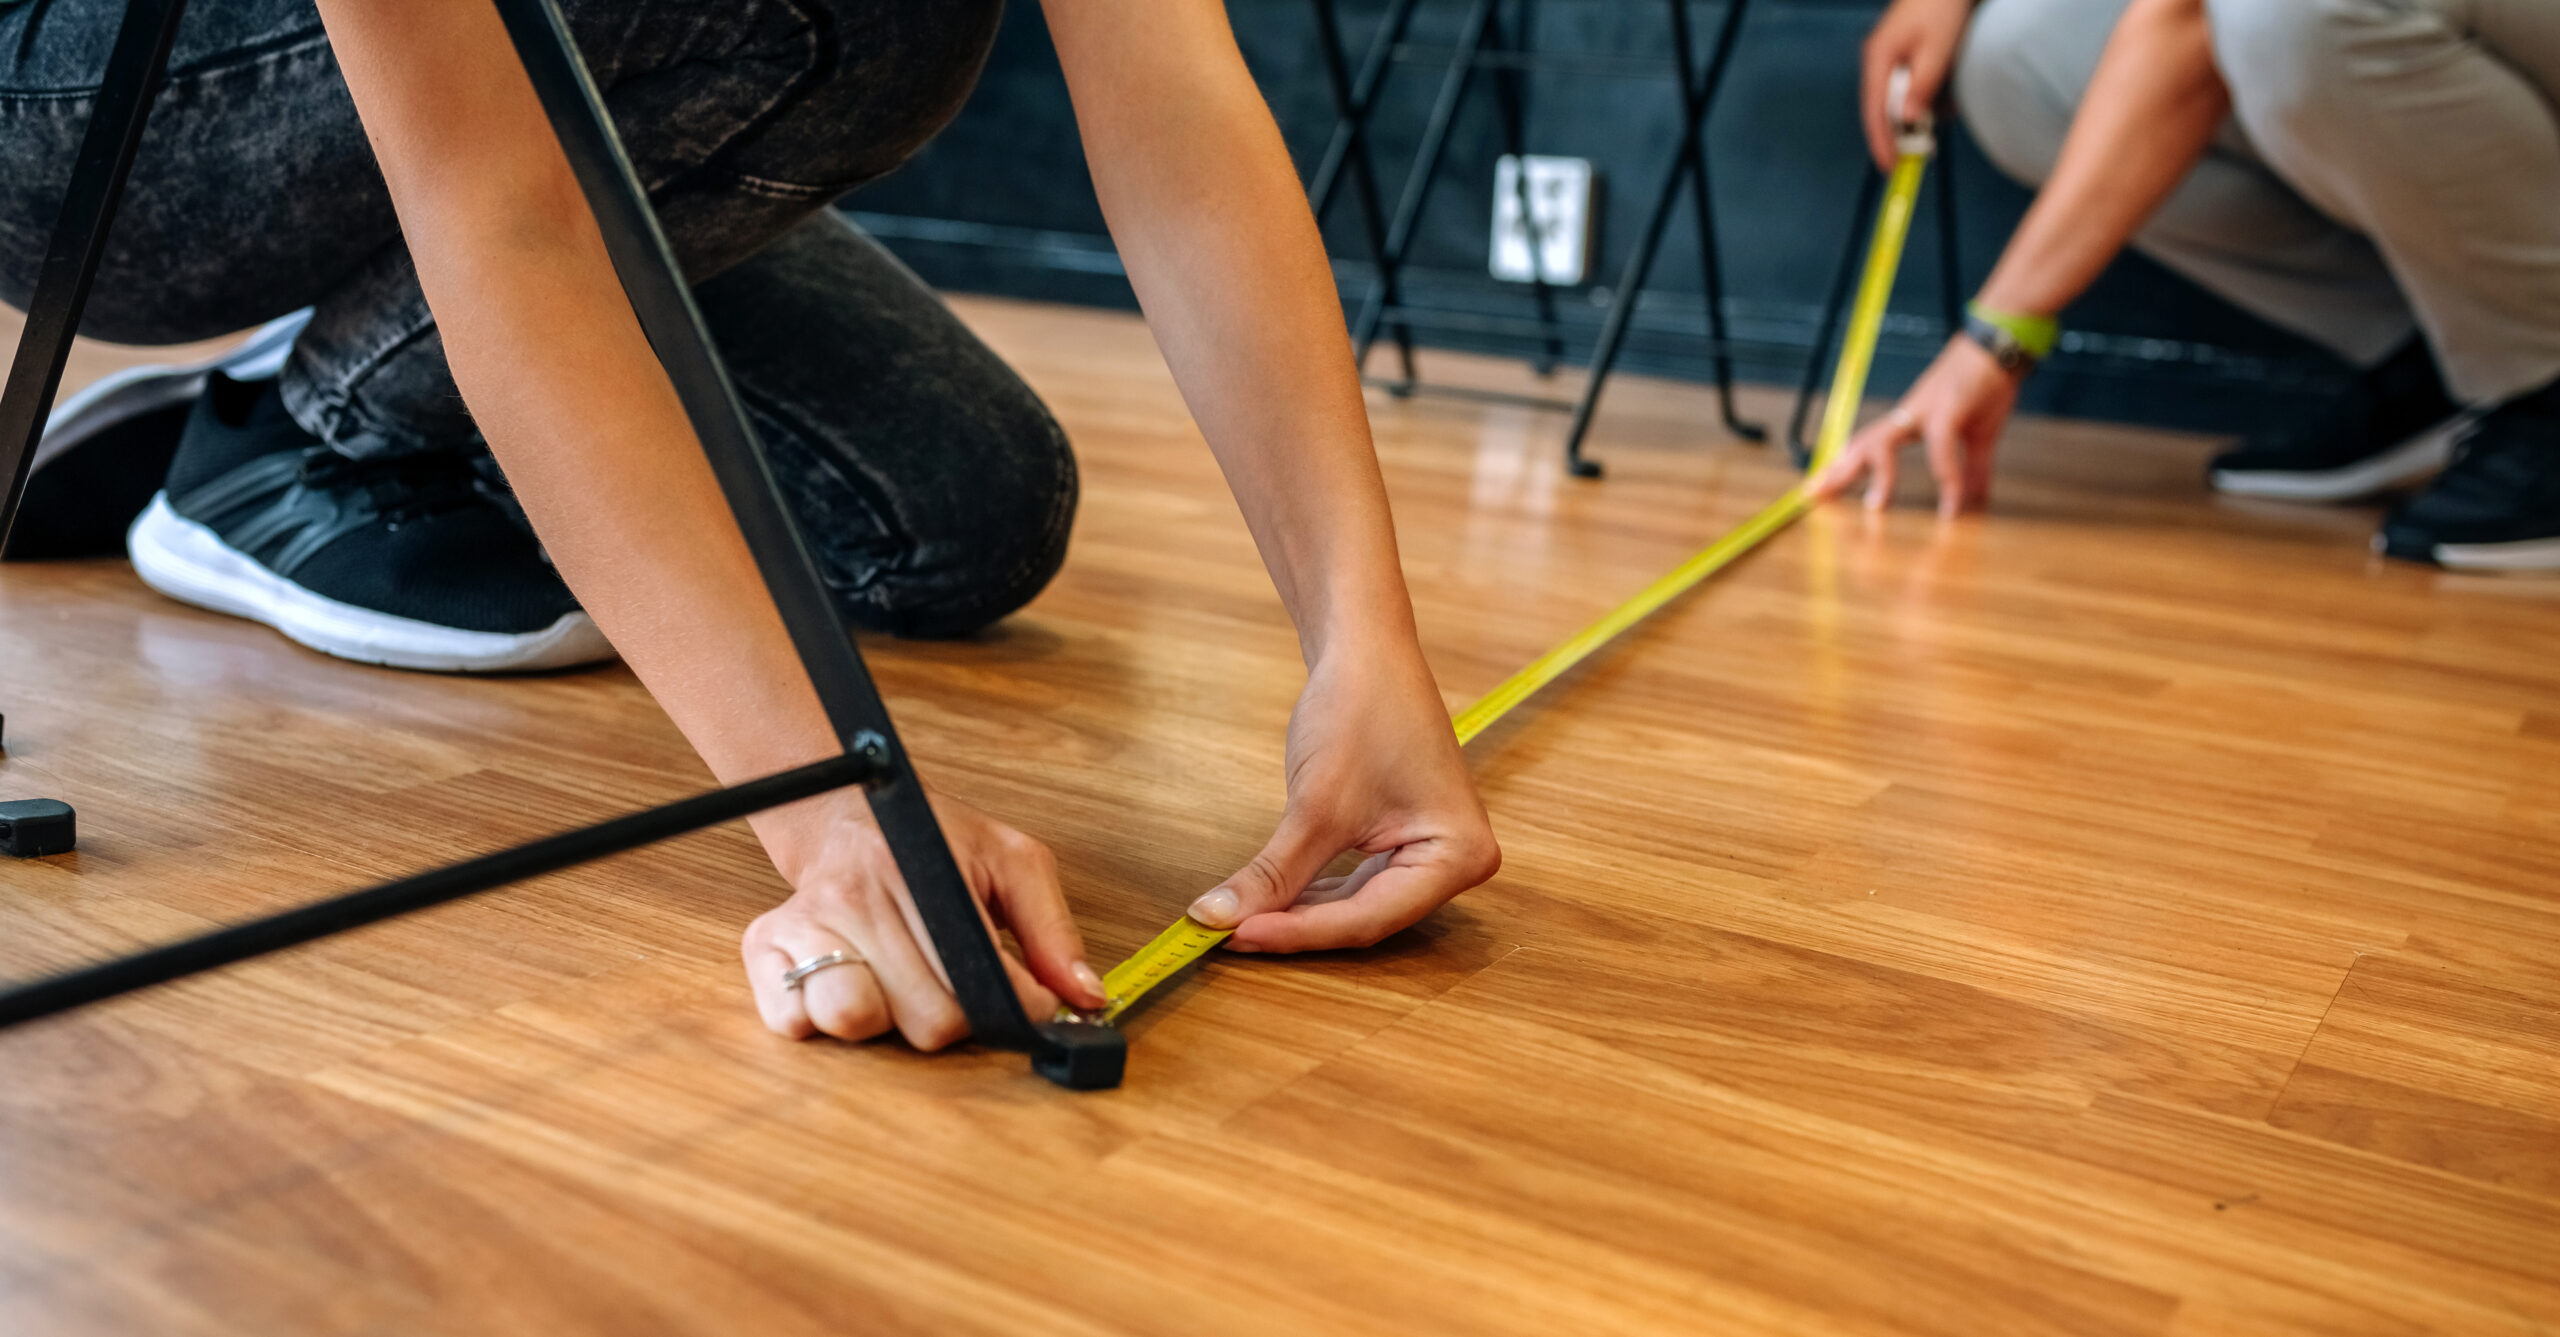
A tape measure (preferably 25’ or longer)
A notepad or phone to record dimensions
A calculator or spreadsheet
Optional: a basic sketch of your floorplan (just to stay organized)
Step 1: Measure the Square Footage of Each Room
Most flooring is sold by the square foot, so that’s the number you’re aiming for.
Use this formula:
Length (in feet) × Width (in feet) = Total square footage
Example:
A room that is 12 feet wide by 15 feet long:
12 × 15 = 180 sq. ft.
For odd-shaped rooms:
Break the room into square or rectangular sections
Measure and calculate each section separately
Add them all together for the total square footage
Example:
An L-shaped room could be divided into 2 rectangles:
Area A: 10 ft × 12 ft = 120 sq. ft.
Area B: 8 ft × 6 ft = 48 sq. ft.
Total = 168 sq. ft.
Step 2: Always Add Overage (This Is Crucial)
No matter how careful you measure, you should always purchase extra flooring to account for:
Cutting waste
Layout pattern matching
Measurement errors
Future repairs
Here’s how much to add:
+5–10% for standard rooms and layouts (carpet, LVP, laminate, sheet vinyl)
+10–15% for rooms with angles, stairs, herringbone patterns, or multiple cuts (tile, hardwood, complex installs)
Example:
If your total measured area is 500 sq. ft. and you’re installing LVP:
500 × 1.10 = 550 sq. ft. needed
Why this matters: Most flooring is packaged in cartons covering a set amount of square footage. You’ll need to round up to the nearest full carton — so it’s better to plan for a little extra than come up short.
Step 3: Don’t Forget These Commonly Missed Areas
When measuring, be sure to include:
Closets
Hallways
Pantries
Entryways or landings
Transitions between rooms
These may seem small, but they add up quickly — and flooring materials should match throughout connected spaces for a seamless look.
Optional: Let the Pros Handle It
If you’re unsure about your measurements — or just want a second set of eyes — Floor Pro offers free in-home measurements by trained flooring specialists.
Our team will:
Measure all necessary spaces accurately
Plan for appropriate overage based on product and layout
Answer any installation or layout questions before you commit
This takes the pressure off and helps you avoid costly ordering mistakes.
Need Help? We’ve Got You Covered.
Ready to buy, but not ready to measure?
Floor Pro’s expert team will come to you — for free. We’ll measure your space, recommend the right materials, and help you order with confidence.